In this article, I will writing about creating and configuration Azure Bastion and what it is purpose of using. It allows us to make RDP/SSH connections to our virtual machines via TLS using port 433 safely and smoothly. While connecting with Azure Bastion, your machines don’t need a Public IP address. Therefore, it protects against threats and attacks from outside.
You don’t need an RDP or SSH client to access RDP / SSH to your Azure virtual machine in your Azure portal. You can use the Azure portal to enable us to get RDP / SSH access directly from the browser.
Create and Configuration
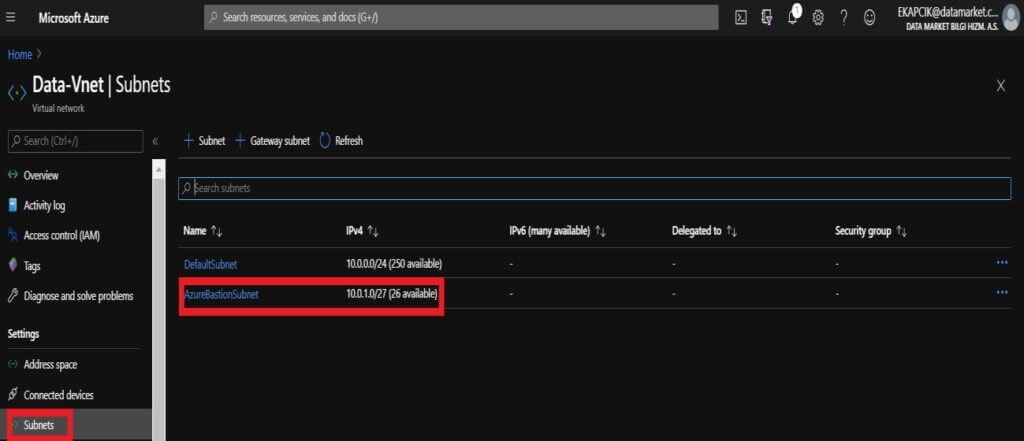
Firstly, we are going to Subnet section from the Virtual Network menu where the virtual machine is located. We are adding a subnet named AzureBastionSubnet, provided we use a / 27 or larger subnet. Important point subnet name must be Azure Bastion Subnet.
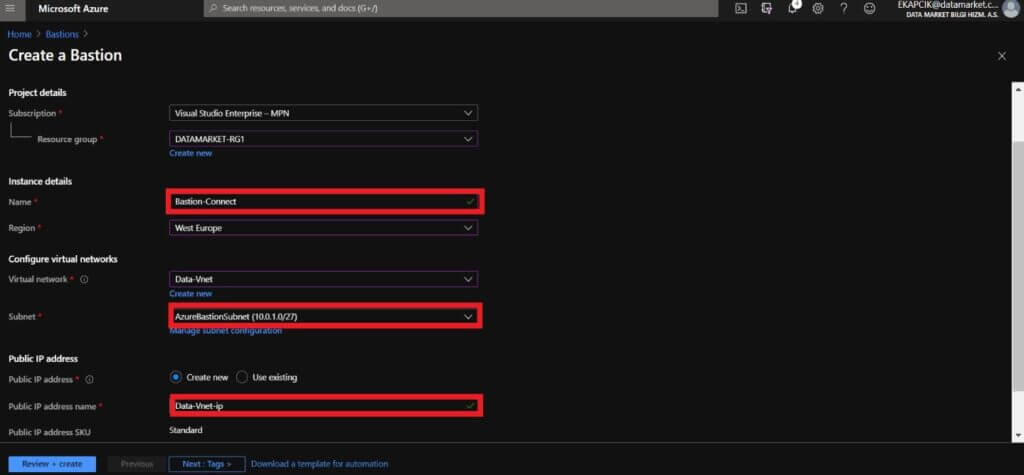
We are coming to the Bastion Screen via Azure Portal page and clicking on Add.

- Name : We are giving a name to the Bastion.
- Subnet : We are choosing the subnet where Bastion will be deployed so we are choosing AzureBastionSubnet.
- Public IP address : This is the public IP of the Bastion resource on which RDP/SSH will be accessed (over port 443).
After doing all the operations, we continue with Review + Create and on the validation screen, we’re clicking on Create.
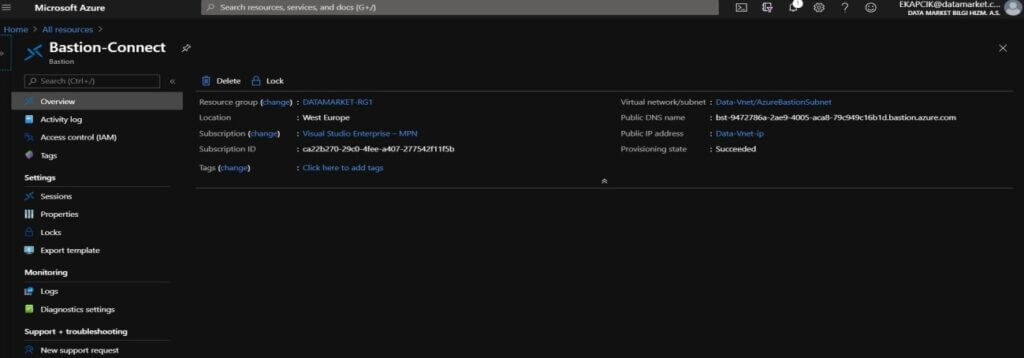
We can see that your Azure Bastion create has been successfully completed.
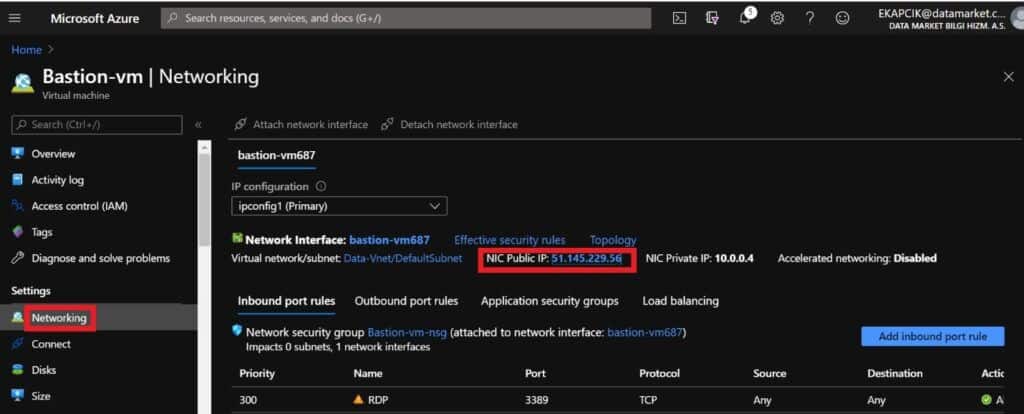
We are going to the Networking> NIC Public IP section of virtual machine and we’re moving public IP.
We can see that the public IP address has been removed.

We are selecting Bastion from the Connection section and typing the username and password for your virtual machine.

After we’re clicking Connect and our virtual machine is opening in a new tab.
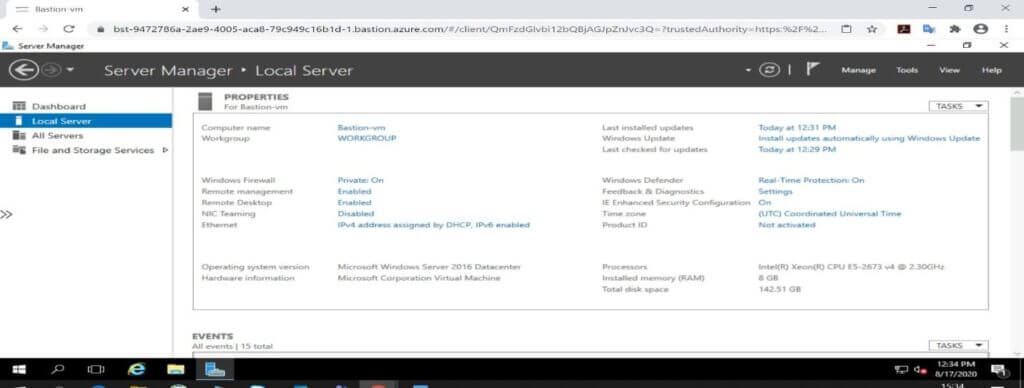
At the same time, you can see the sessions opened with Bastion in the Session section under the Azure Bastion page.

Referanslar: https://docs.microsoft.com/en-us/azure/bastion/bastion-overview
https://docs.microsoft.com/en-us/azure/bastion/quickstart-host-portal